Tutorial #1. Twitter Poster.
This tutorial describes how to create standalone multithreaded network script, which post to twitter.
This tutorial contains a lot of steps, if you want to see them in action, you can skip it, by checking video.
Anyway, if you are new to BrowserAutomationStudio, you should check it out.
By finishing this tutorial, you will know BrowserAutomationStudio basics and will create multithreaded twitter poster.
Lets get started!
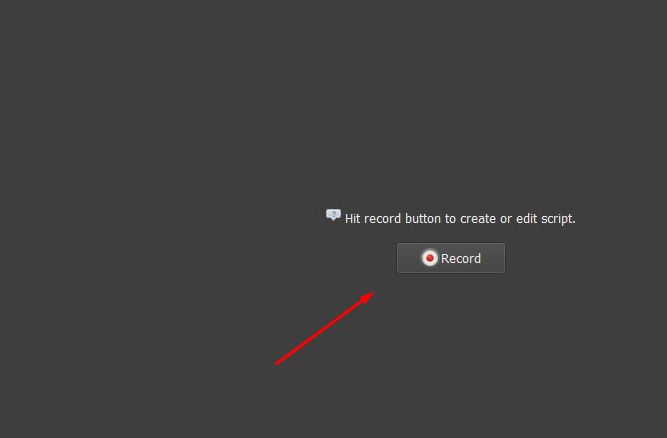
To start creating script, you need to run Browser Automation Studio and hit record button.
Hit load button to make Browser Automation Studio load twitter page.
Input twitter.com as load url and hit ok.
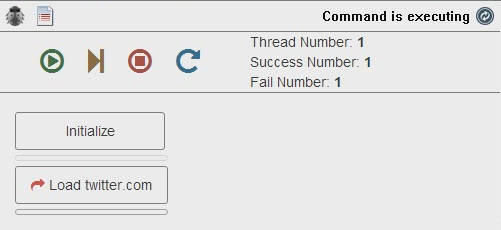
Immediately after you add action, it will be added to scenario tab. There is also "command executing" notice, which means that some action is taking place(page loading) and interface will be unavailable until it's done.
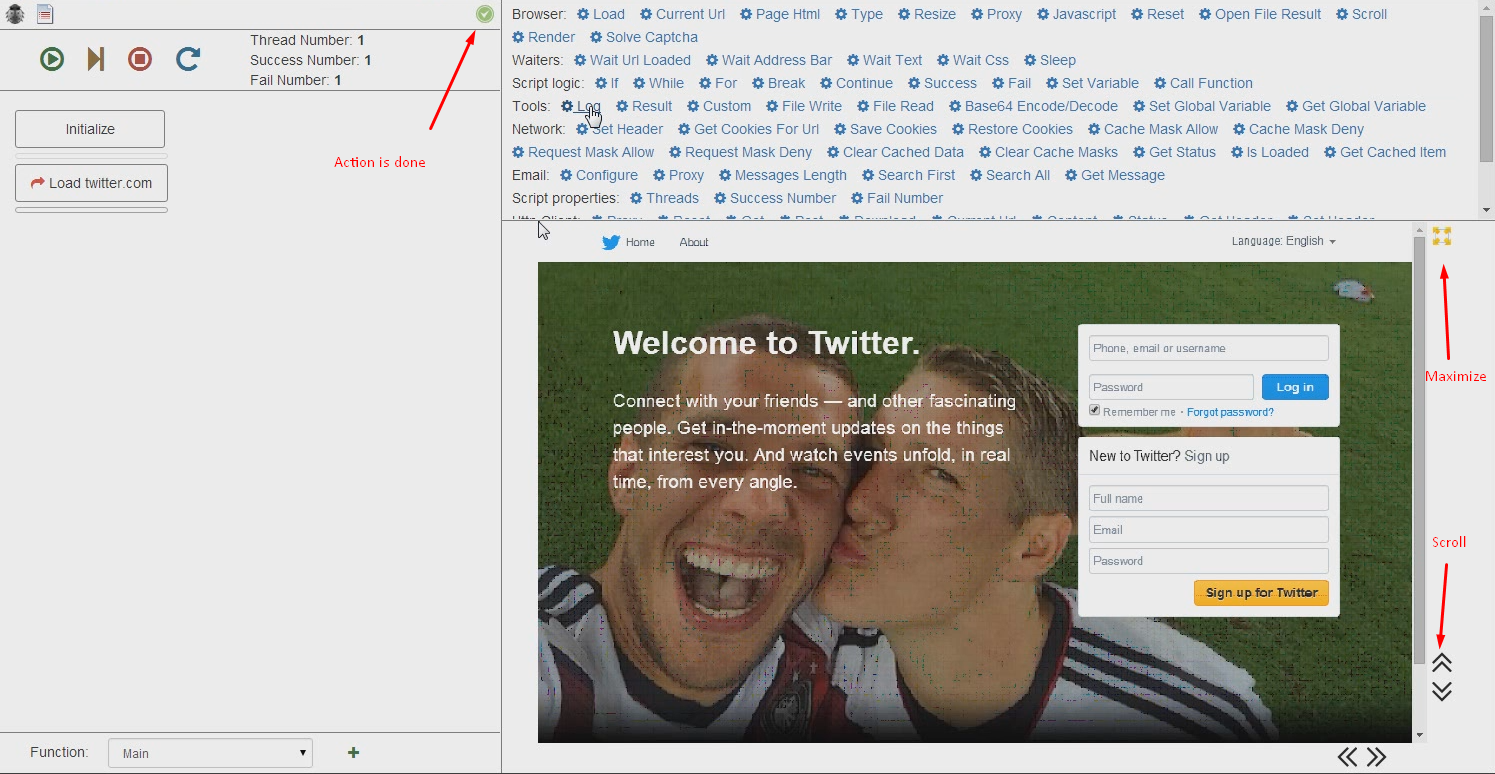
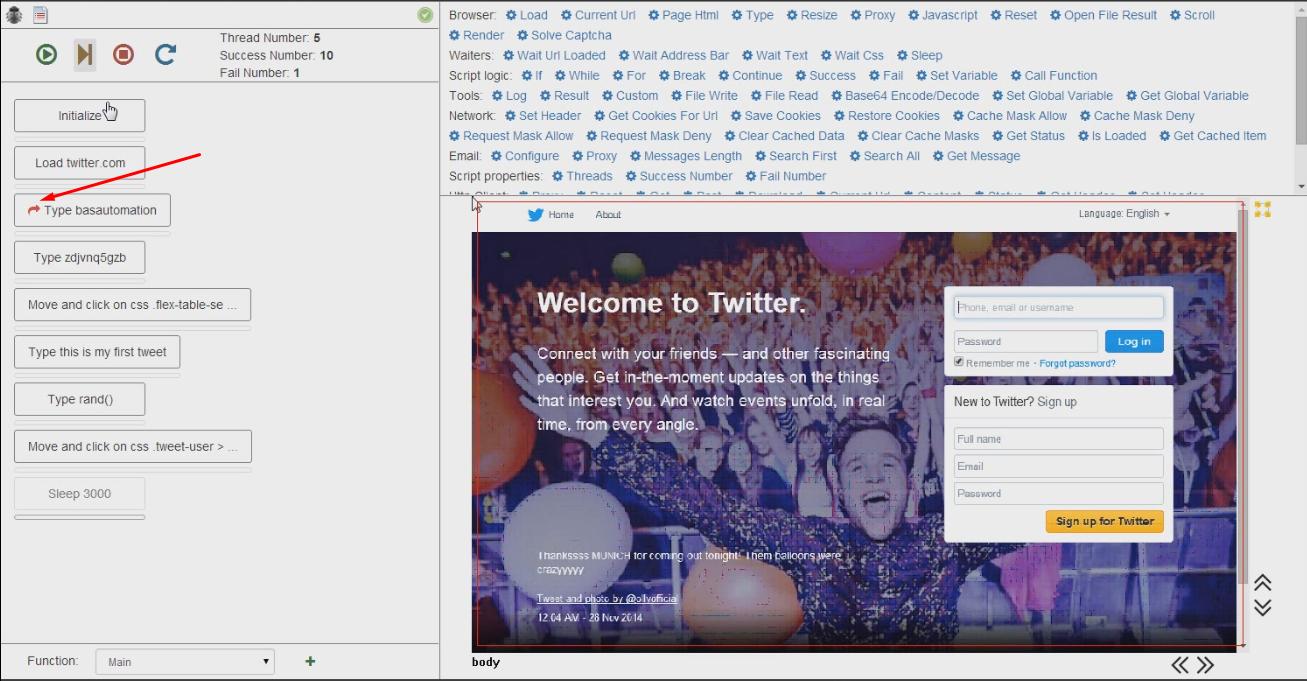
When interface will be loaded, you should see following picture. Action indicator must be green as shown on the screenshot. You can use dark arrows to scroll and yellow button to maximize recorder area. See screenshot as reference.
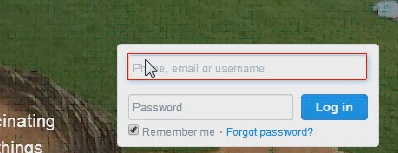
Now lets input some text. You should start with clicking on element, which you want to interact with.
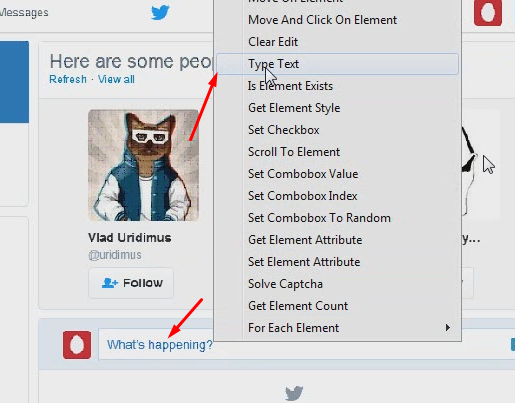
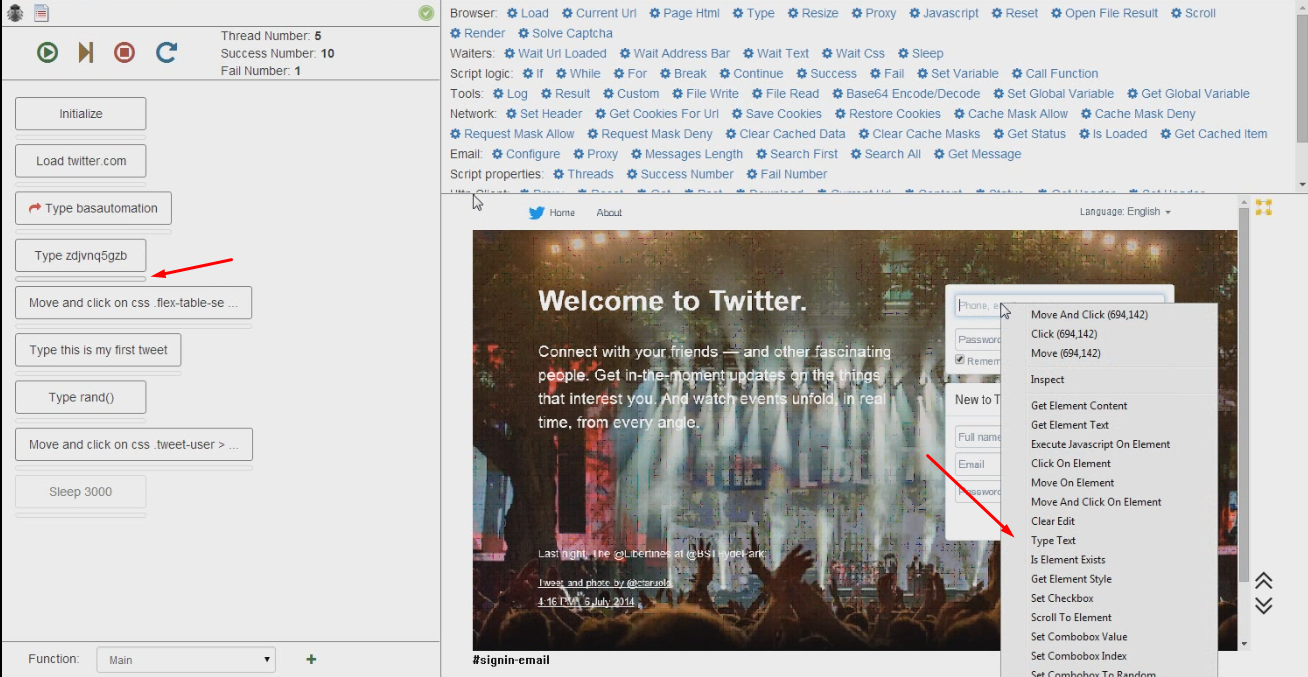
By clicking on any element with left mouse button you can trigger context menu, which holds all action, that you can do with it. Lets select "Type Text" action and continue.
This will bring type text action, which is pretty similar to load page action. Input your twitter user name there.
Use same procedure to input password.
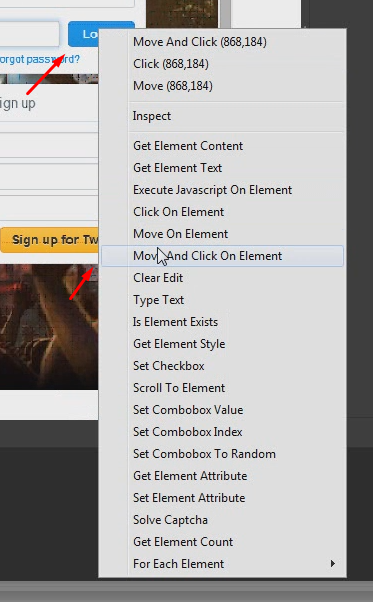
Use same approach to click on "Login" button, but use "Move and click on element" action this time. There is 3 type of mouse actions: "Click on element", "Move on element", "Move and click on element". It is better to use third, because it gives better emulation results by sending mouse move events. There is also "Move and click" action by coordinates. It is better to avoid them too, because element position may change over time.
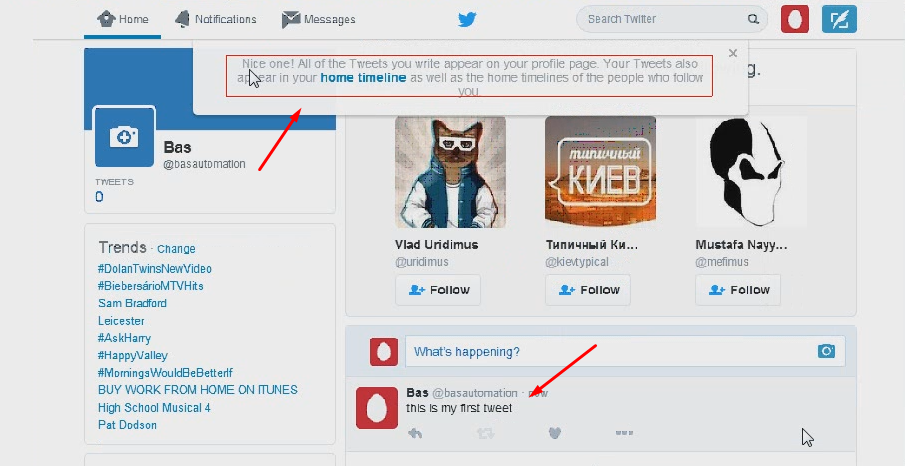
Do more inputting by typing tweet and hitting "Tweet" button.
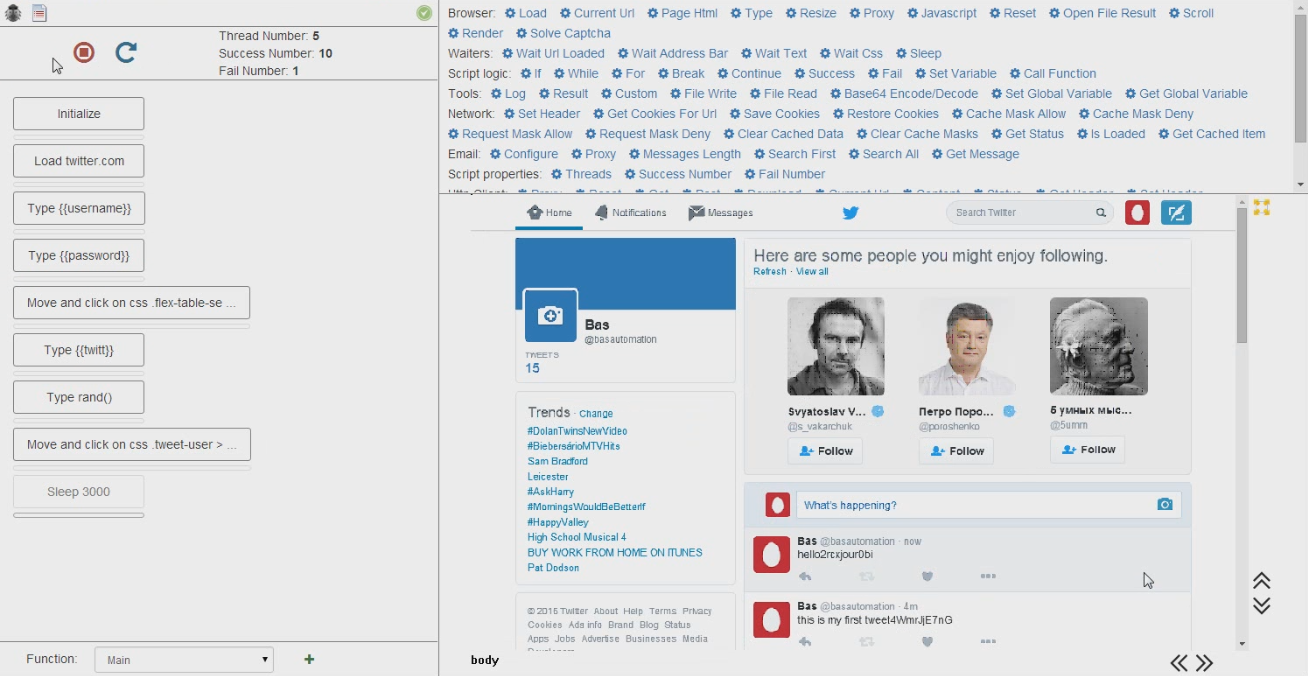
You should see following picture now.
Lets add another step, by adding sleep action. Tweet action takes some time and browser could close before submitting tweet otherwise.
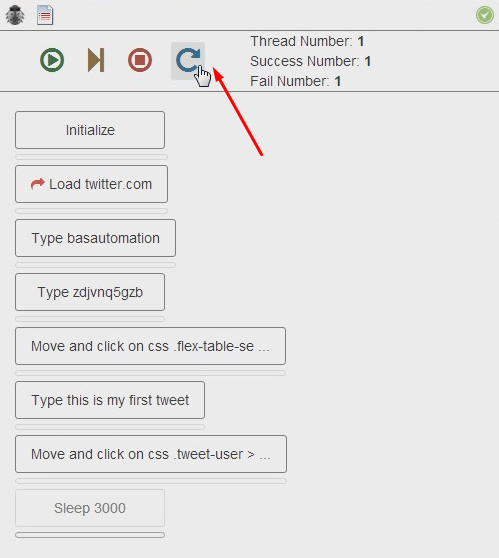
For the time being, all the steps you have done was recorded and can be repeated. Lets try to repeat it by hitting on reload button. See screenshot.
Hit play button to start executing.
BrowserAutomationStudio will repeat all the steps, but script will finish with error, this is because of twitter restrictions. Twitter don't allow to post same post twice. We will fix it by adding random string to the end of the tweet.
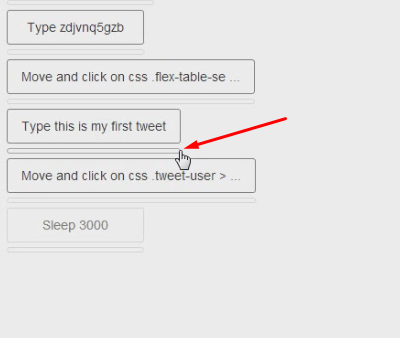
First you need to move cursor to the end of the type action by clicking on it with left mouse button. Cursor designates where to put next action. Usually it points to place under last action, but if you insert action in the middle, you need to move cursor manually.
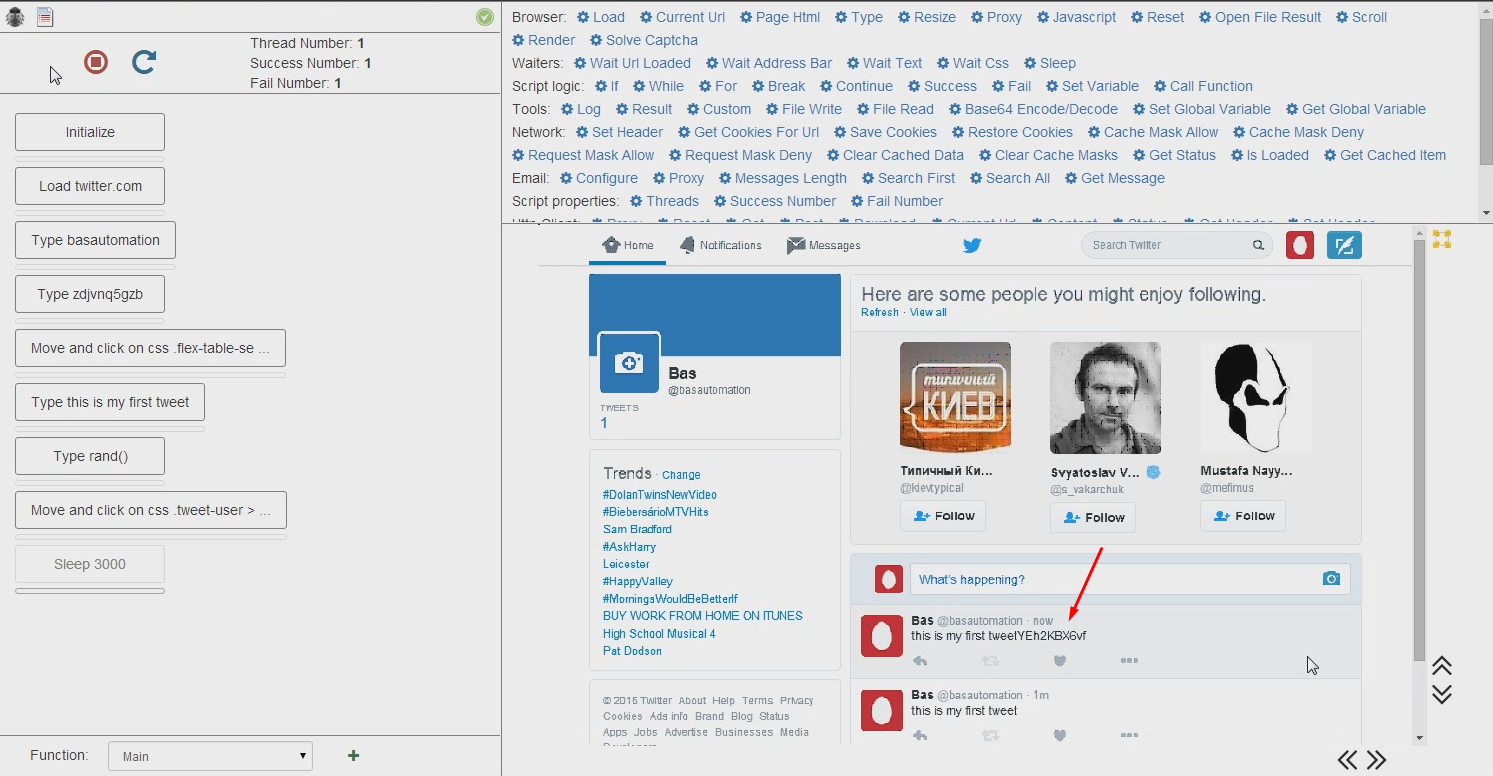
Now add another typing action. An action, which types random string. To make string random, you need switch to expression mode and input "rand()". rand is function, which generates random string. Also you can put arbitrary javascript code there.
Now script should input random twitt and it should be accepted. Lets reload script again to check that.
Congratulation! Twitt has been posted. Up to this moment you run BrowserAutomationStudio script in developer mode, but developer mode limited with thread number, can't repeat more than one time and much slower than production mode. Lets run script in production mode.
Hit "stop" button and than "run" button, as shown on screenshot.
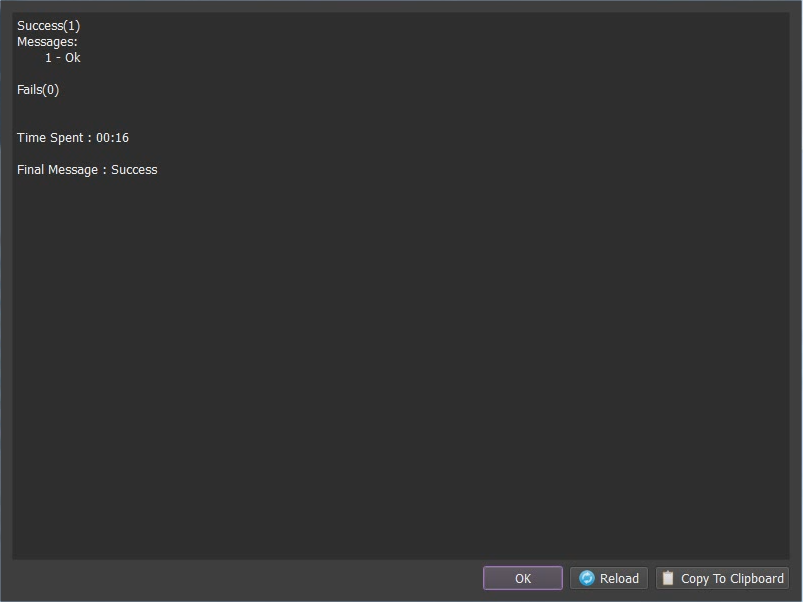
After script will finish in production mode, you should see script report.
So far script posts only one tweet, lets upgrade it to post arbitrary number of tweets. Go to developer mode again by hitting "Record" button and click on "Success Number" action.
Set success number to "2". This means, that script will post 2 tweets, and than will exit.
Run script in production mode again.
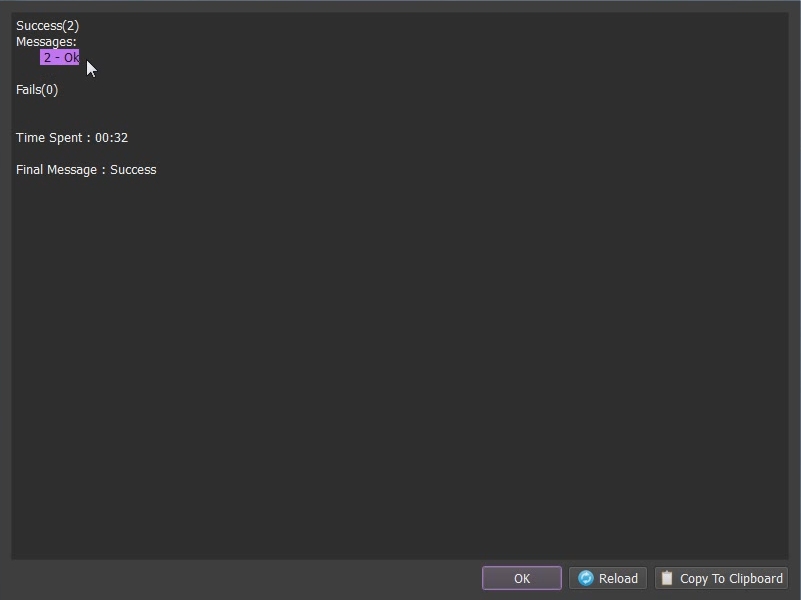
Script will post two tweets instead of one, you can check it in script report.
Now we will upgrade script even more and set thread number. Go to developer mode, set thread number to 5 and success number to 10.
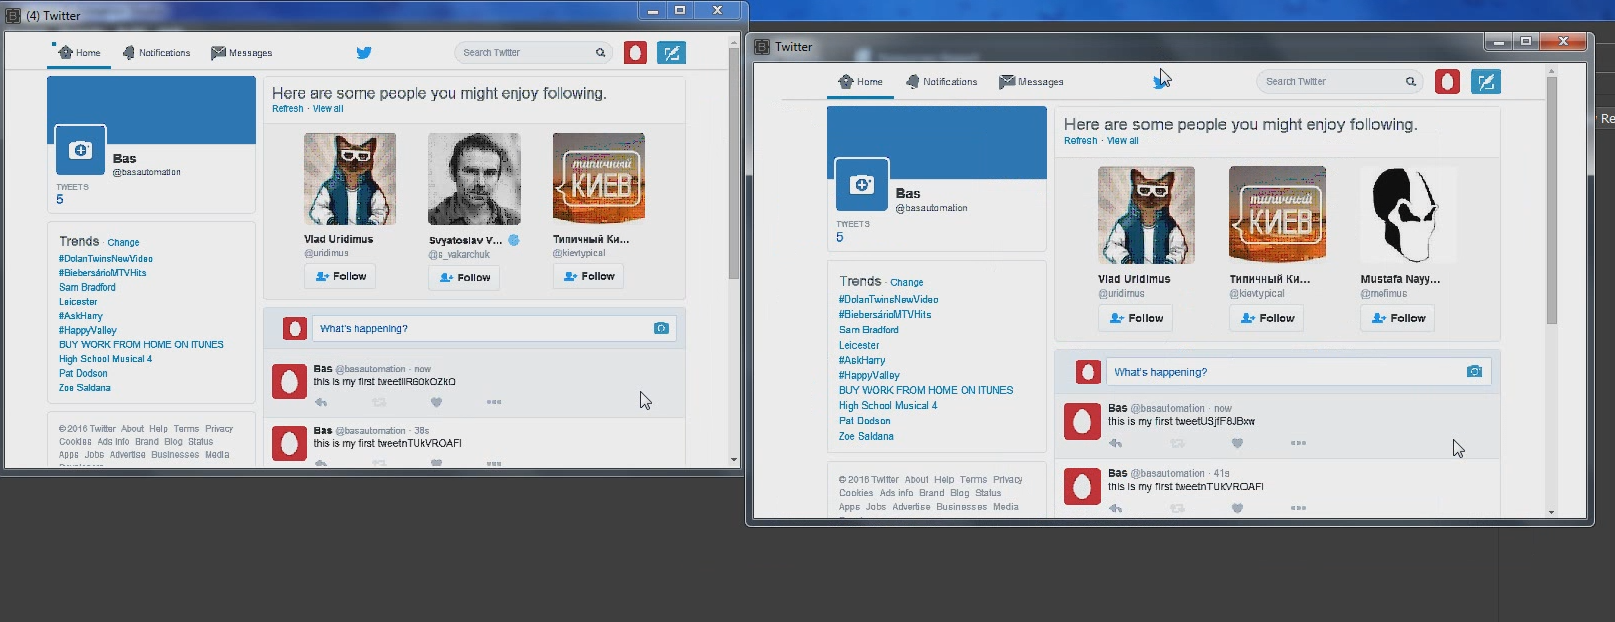
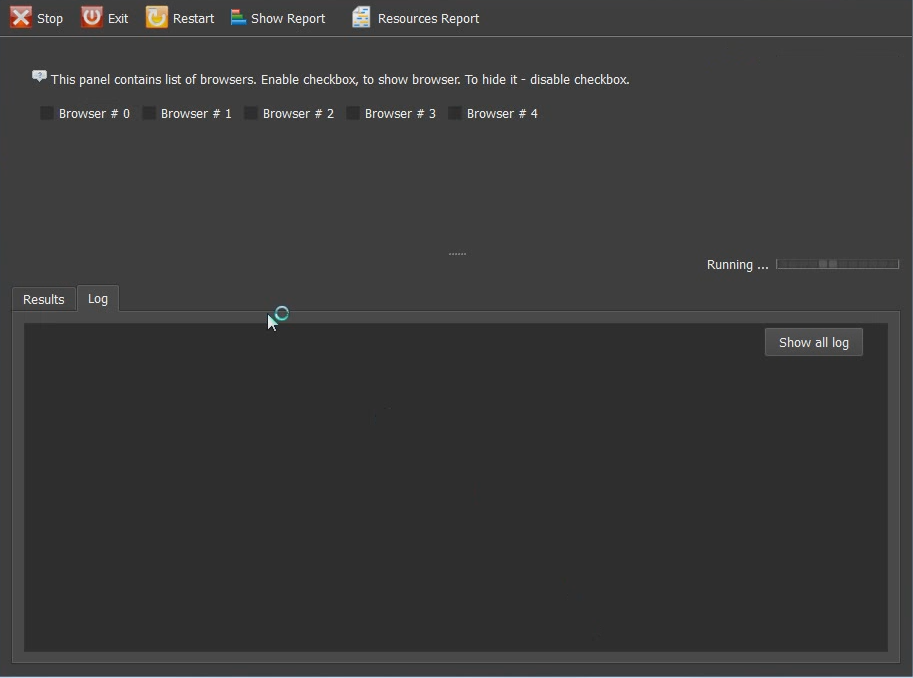
After you run script in production mode, you will see five checkboxes, each checkbox stands for each thread.
Click on checkbox to see, what is going on in each browser.
Right now script can be run only inside Browser Automation Studio environment. To give script to person, who don't have Studio installed, you need to compile it. Hit compile button.
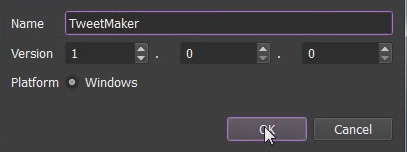
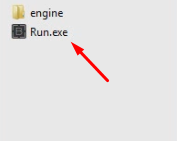
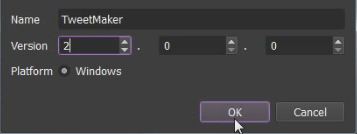
Choose compile options: name the script and set version. After you hit "Ok", you will have executable, which have no dependencies and which you can send to anyone.
Run script to test it.
You can see, that there is window pretty much the same as Browser Automation Studio main window, and script posts tweets as expected.
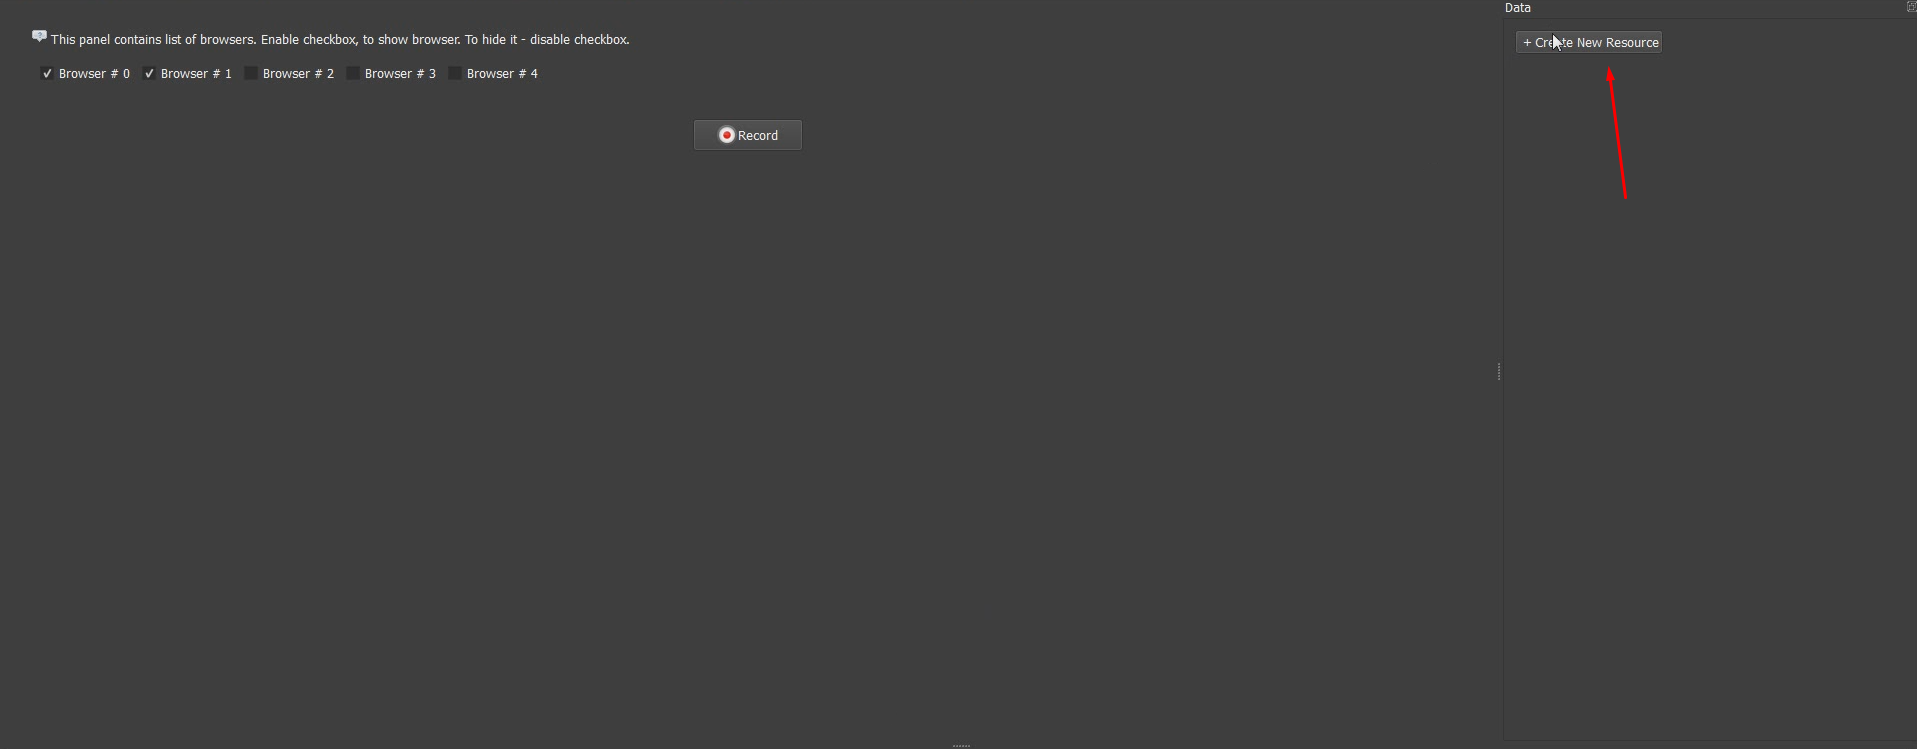
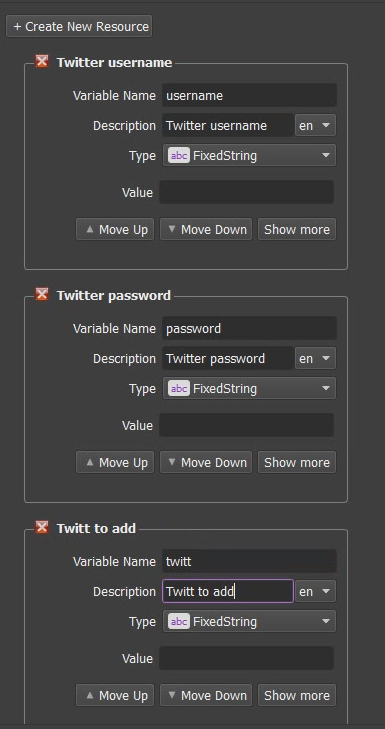
There is still one issue: if you give your script to your users, you don't want to give them your twitter password and login. You want them to input theirs own credentials. Here is where resources system comes in hand. Open Browser Automation Studio and hit "Create Resource" button three times: one for login, one for password, one for tweets.
Set variable name and description for every resource.
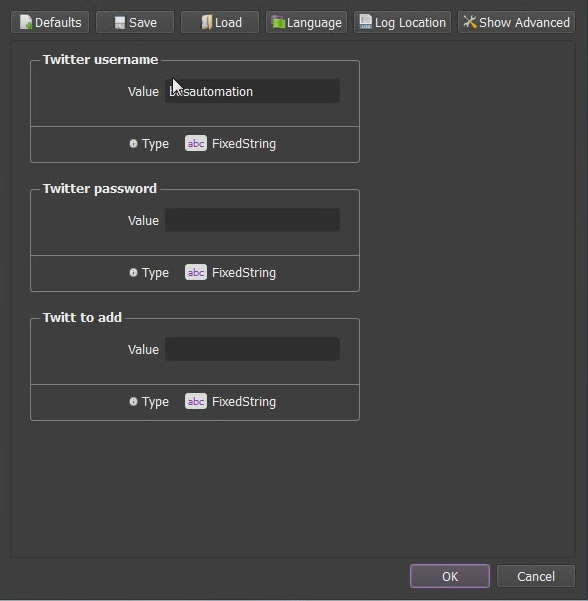
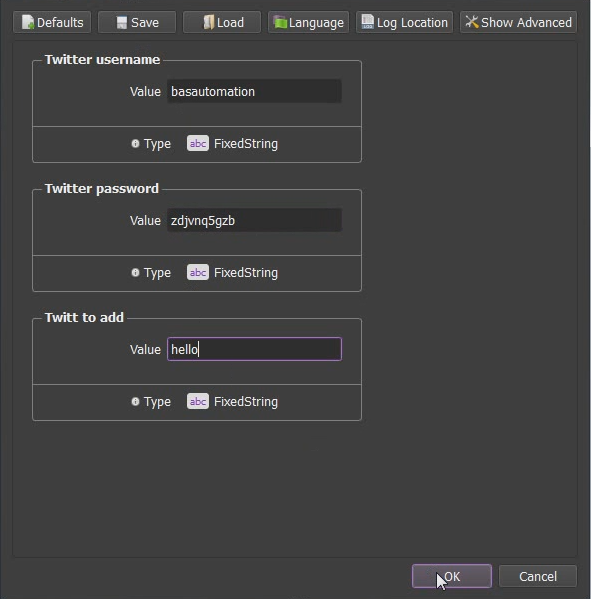
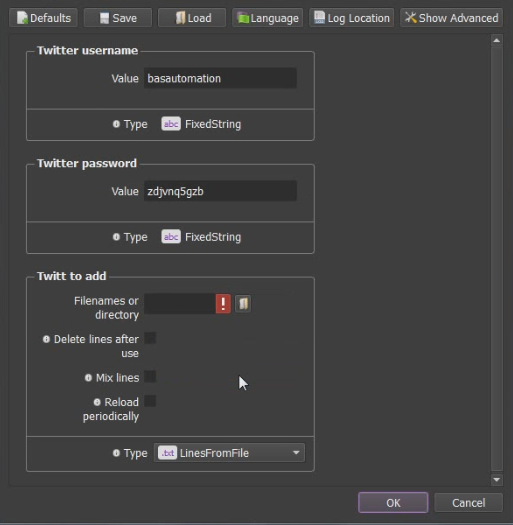
After you hit "Record" button again, you will see resource definition window.
Put your login and password there.
Now lets modify script to use values, from resources instead of hardcoded. Hit "Run One" button to execute only one action. It is needed to load twitter site again, but don't move further.
Result should be following: twitter site is loaded and next task pointer is moved to type action.
Move cursor to position after type action and hit on username edit as it is shown on screenshot.
Instead of typing constant string, use resource button to input resource.
Choose resource and hit ok. You can input resources in any field and any action this way!
Action is executed correctly. But now there is two "type" action, so you need to delete previously created. You can do that from context menu(right mouse button).
Repeat same procedure for password and tweet field. Don't forget to delete old actions. If you forgot to move cursor before adding action, you can copy/paste actions with Ctrl-C Ctrl-V shortcuts or context menu. If something goes wrong during script editing, you always can hit restart button, to reset execution state.
Here is how script should look like after editing. Note, that "type" actions now contain words in double brackets, which means, that script uses resource system now.
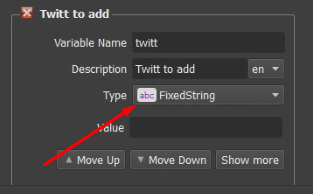
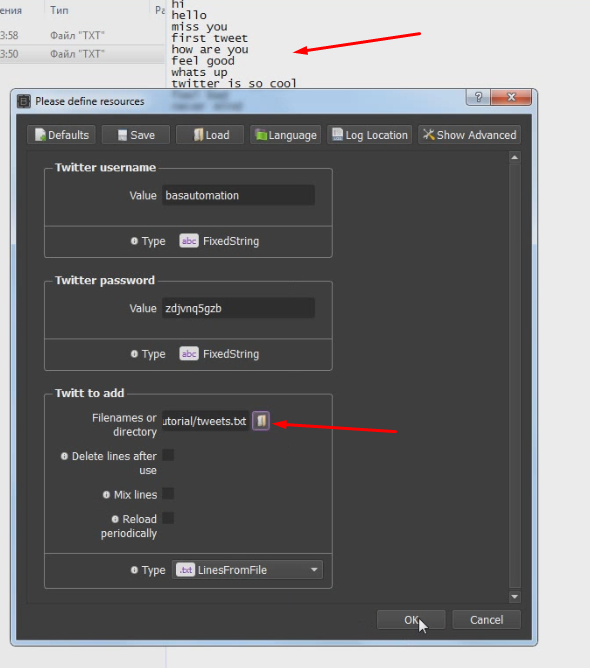
There is still one issue: tweet is always constant string. Lets change resource type to "LinesFromFile", this will allow user to set file with tweets.
That's it. There is possibility to use files now! Restart script and check resource selection dialog.
Select file with tweets and run script. Tweets will be taken from file.
You are ready to compile script again. Hit compile button, increase script version and press "ok".
This is final script version, it asks user to input username, password and file with tweets on start, thus can work with different data. It also works with five threads. If you want to allow user to set thread value, you can load thread number from resources, came as you did with username and password.
Following video shows demonstrates all steps described above:
